Install and Reinstall Through Application
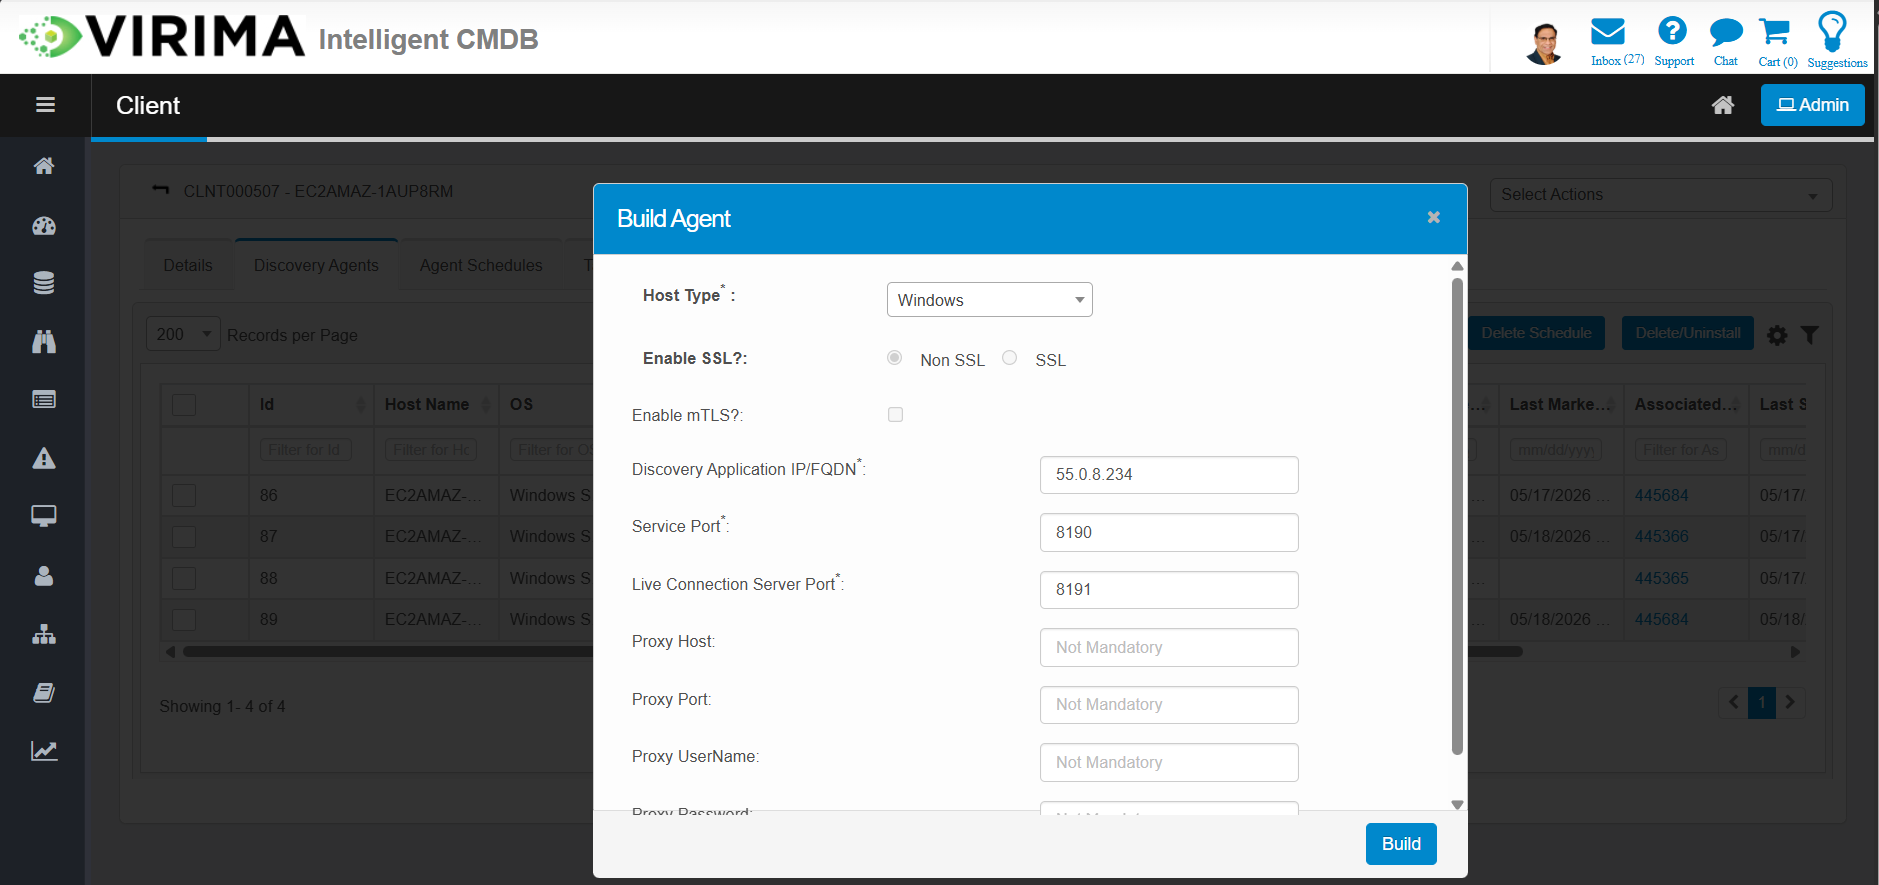
Build the Agent
Use the following procedure to build a Discovery Agent through the Virima web application.
-
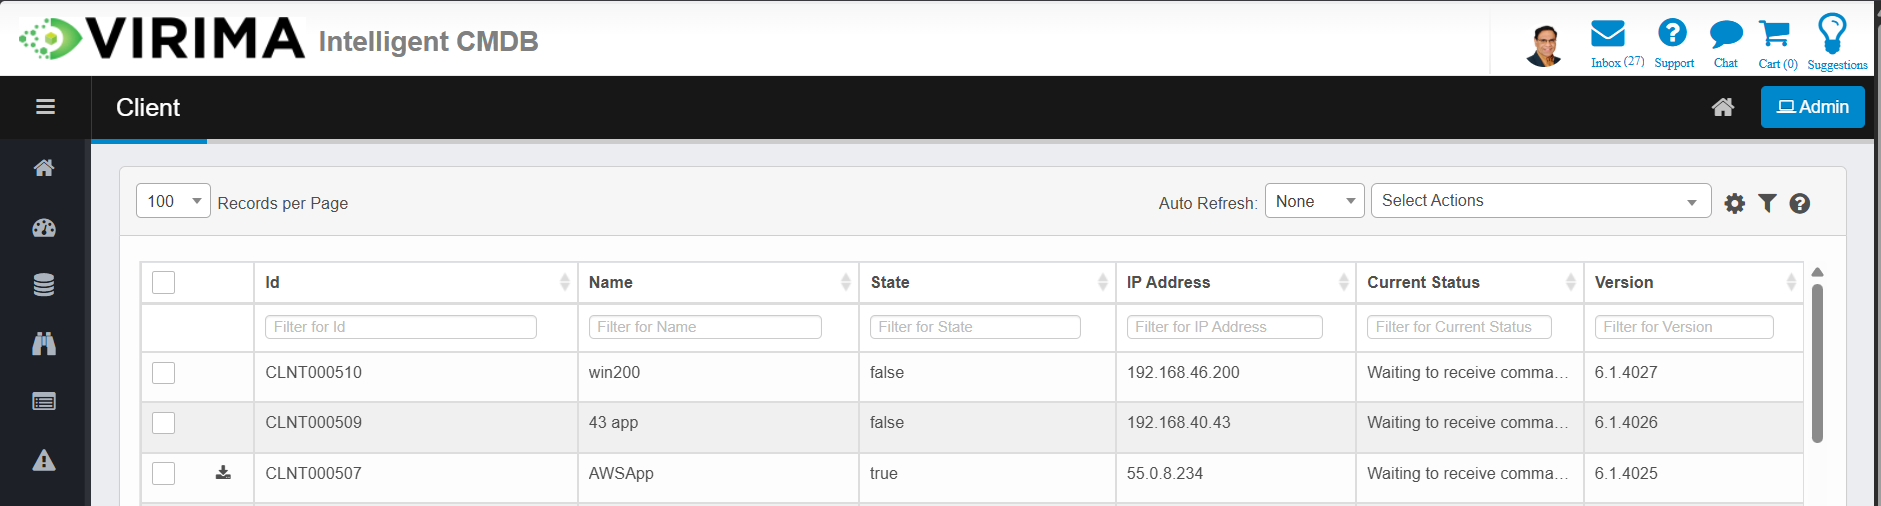
Log in to Virima and go to the Discovery module.
-
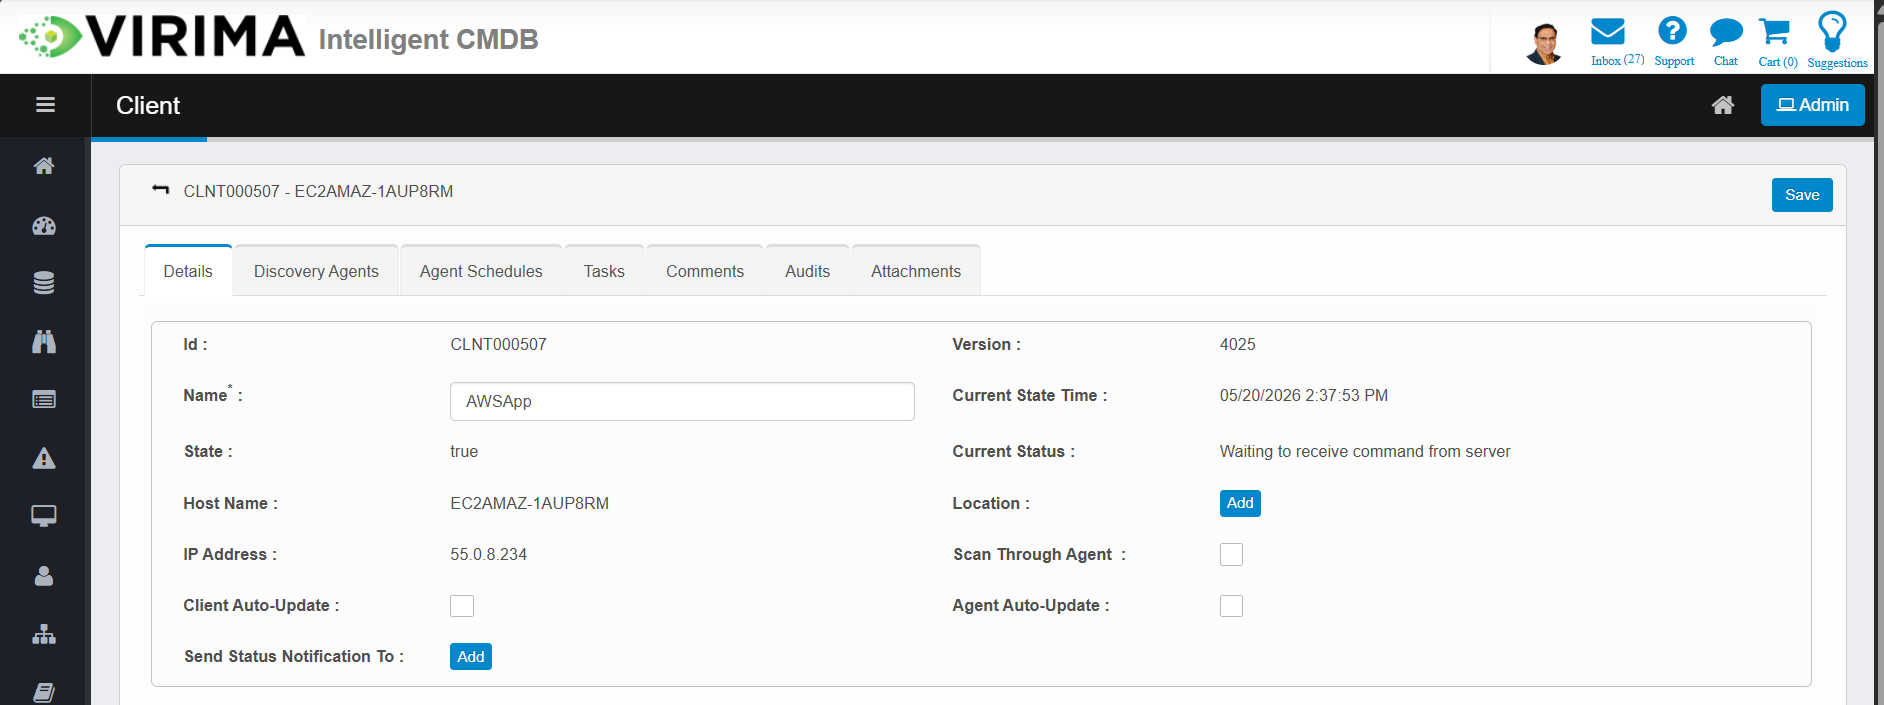
Select the Discovery Application under which the agent will be registered.
-
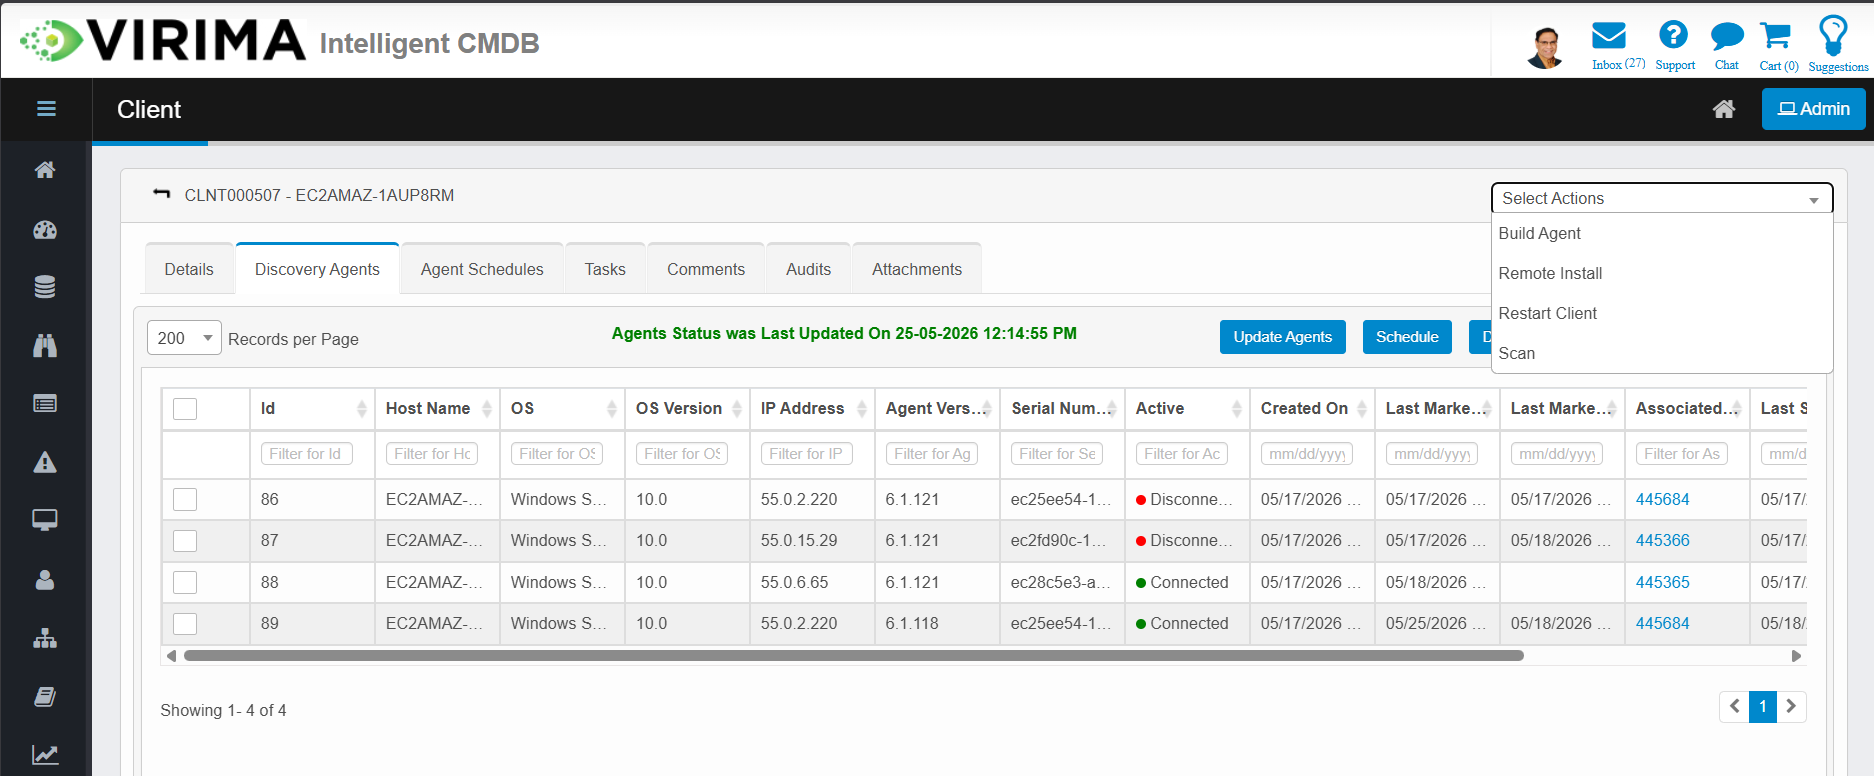
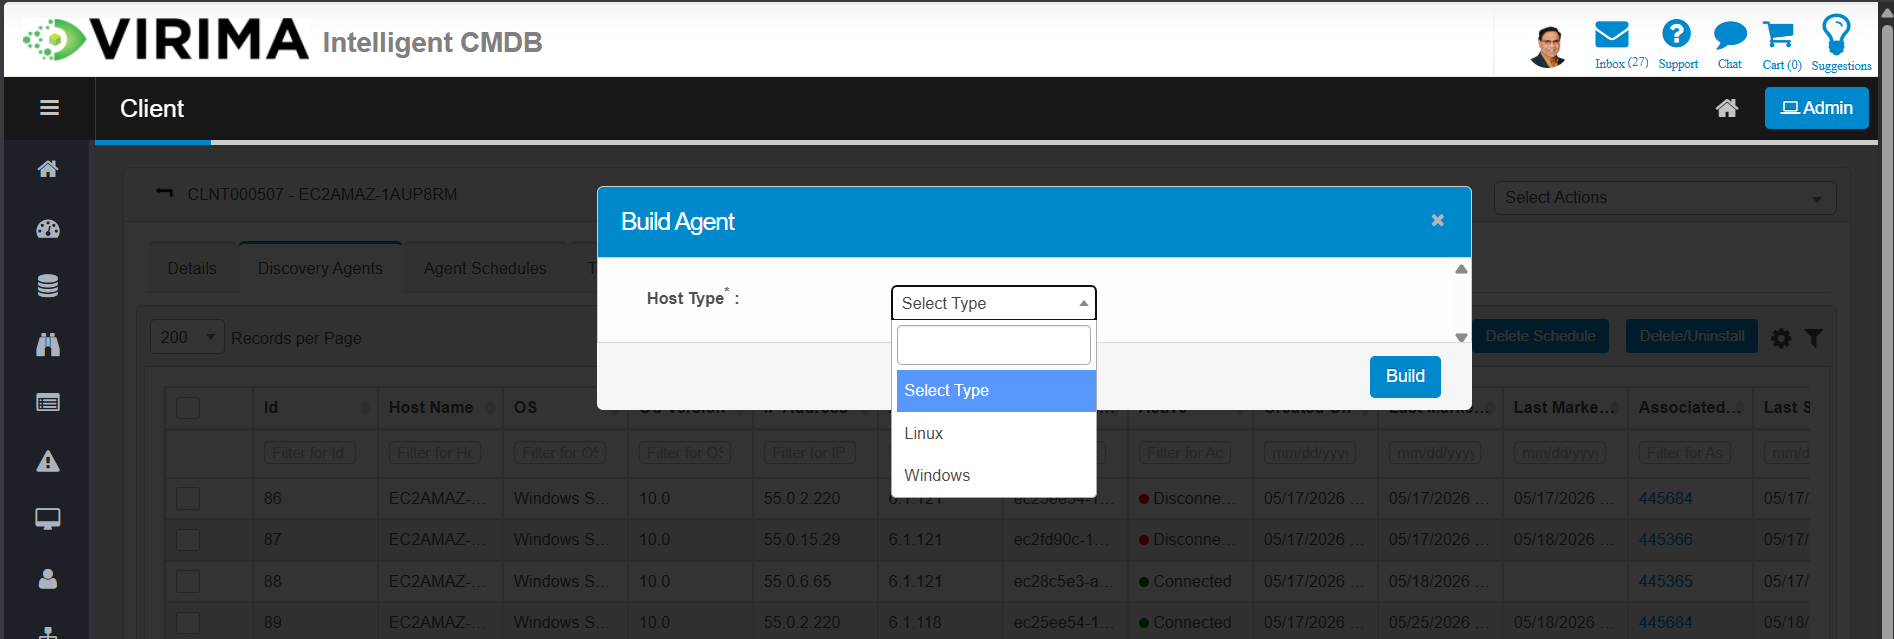
Click Build Agent.
-
Choose the target platform: Windows or Linux.
-
Review the connection details for secure communication.
-
A download link is sent through a notification once the agent is ready.
Note: The built agent comes pre-configured with the correct server connection details. No manual configuration is required.
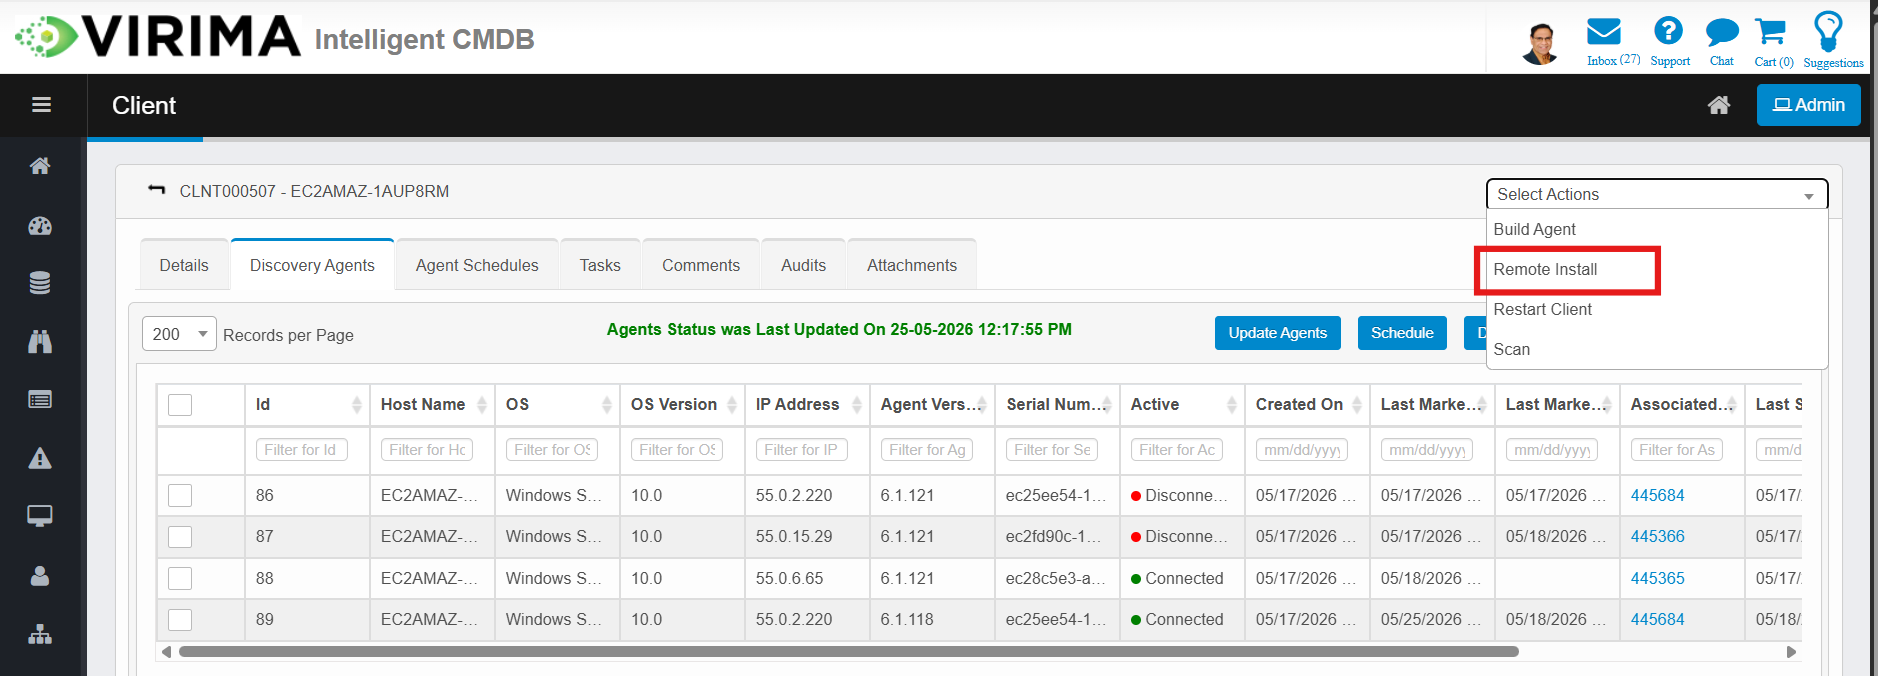
Install and Reinstall on a Remote Machine
Once the agent is built, you can push it to a remote machine directly from the Virima UI. There is no need to log in to the target machine.
-
Go to the Discovery Application detail page.
-
Click Install Agent.
-
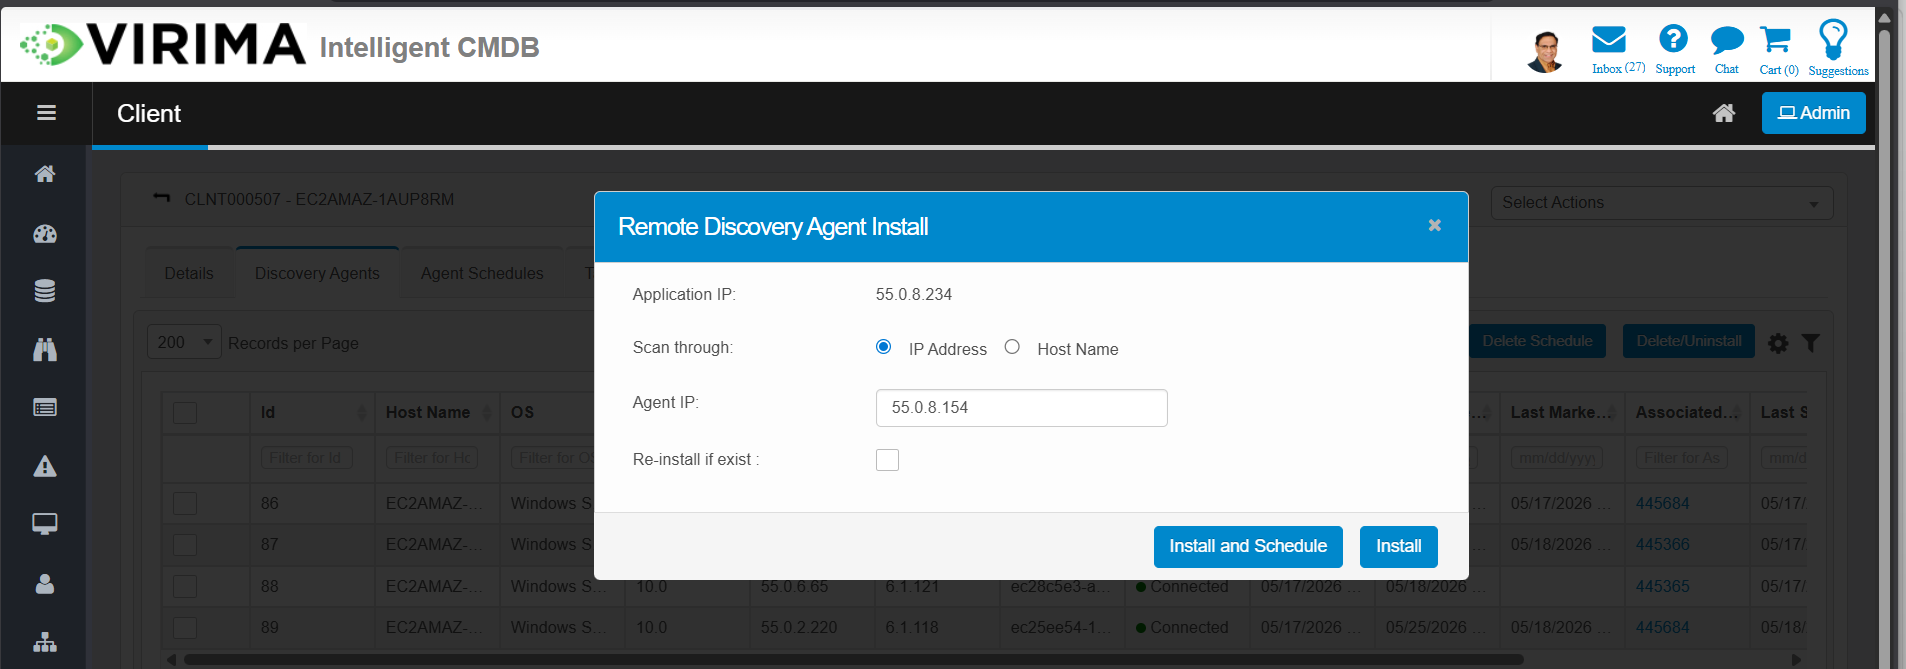
Enter the IP address (or hostname) of the target machine.
Note: Ensure that valid credentials (username and password) for the target machine are configured in Virima. These are required to connect and install the agent remotely.
-
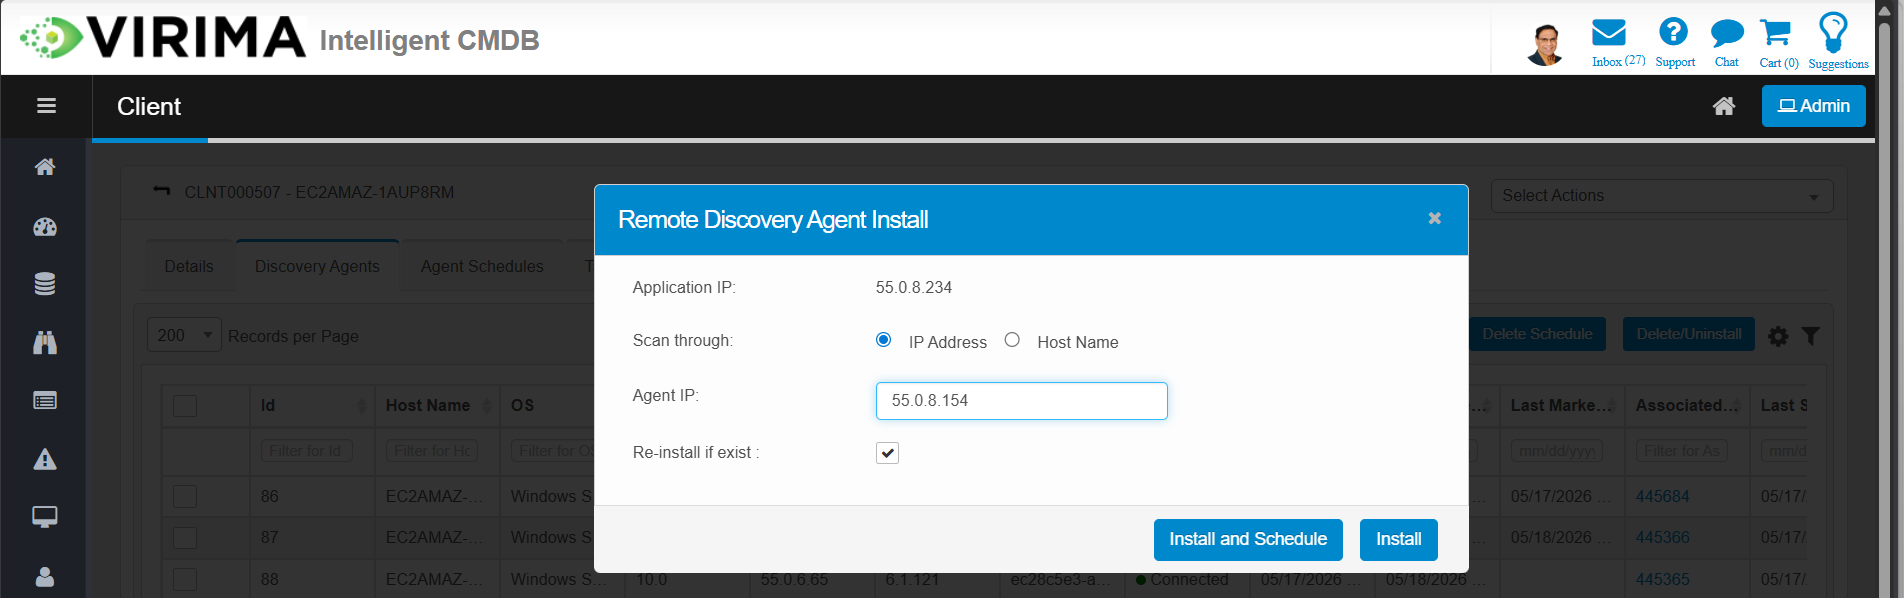
To reinstall an existing agent, select the Reinstall if Exists checkbox.
-
Click Install. Virima agent installation process starts in the background.
Note: The agent is downloaded and installed (or reinstalled) on the remote machine automatically.