Hardware Assets
Use this function to manage the physical components of computers, computer networks, and systems. This begins with the acquisition and continues through maintenance until the hardware's ultimate disposal.
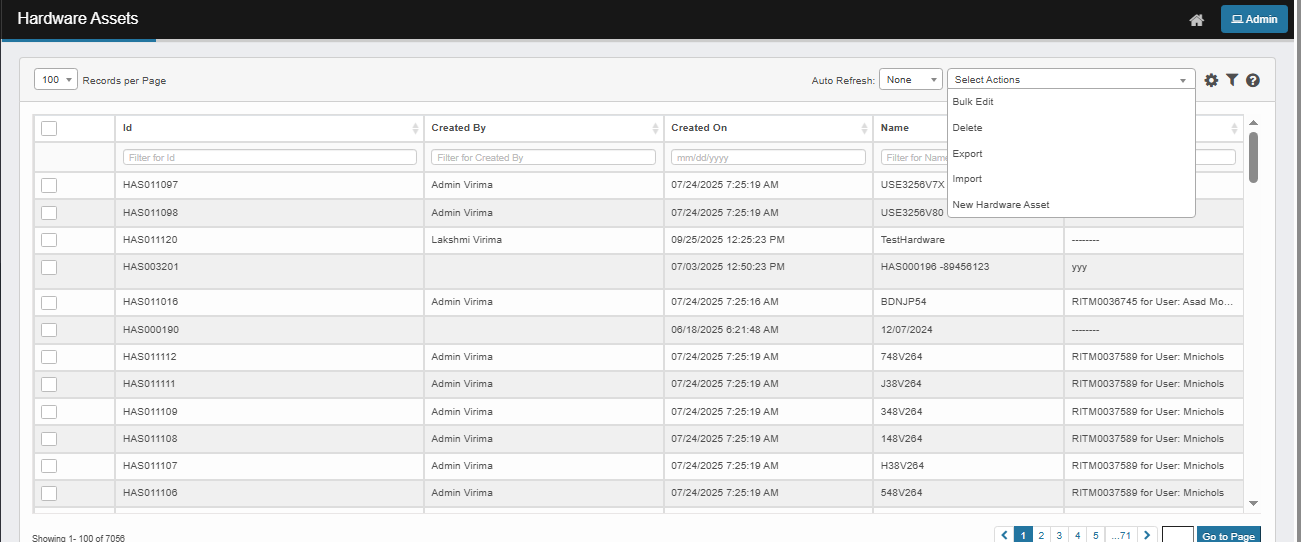
In the navigation pane, select ITAM > Hardware Assets. The Hardware Assets window displays the list of all configured hardware assets.

 New Hardware Asset
1. Select "New Hardware Asset" from the Actions drop-down.
2. Fill in the fields as follows:
- Primary Details: Enter the Name, Description, and Quantity. Click Add to select a Related CI Blueprint if needed.
- Configuration Items: Click Add to add any related configuration items.
- General Group: Complete the details for Asset Tag, State, Assigned To, Location, Serial Number, Owner, etc. Click Add and select applicable values for each.
- Disposal Group: If applicable, provide Disposal Reason, Resale Price, and select Retire Date.
- Financial Group: Select the Acquisition Method, enter Cost, Invoice Number, and other financial details. Click Add to select values where needed.
- Depreciation: Enter Depreciation, Residual Value, and related dates.
- Contracts: Add any applicable contracts.
3. When all selections/entries are made, click Add.
Bulk Edit Hardware Asset
|
1.
|
Select one more record to edit. |
|
2.
|
From the Select Actions drop-down, Select Bulk Edit.A confirmation window displays. |
|
3.
|
Click Yes to confirm ,The applicable window or dialog box displays, Make the necessary modifications. |
Edit Hardware Asset
| |
Not all functions include an option to edit record line items shown in the main window. |
|
1.
|
Navigate to the window containing the record to edit. |
|
2.
|
Click the line containing the record. The applicable window or dialog box displays. |
|
3.
|
Make the necessary modifications. |
|
4.
|
Click Save or Add, as applicable. |
Delete Hardware Asset
| |
Deleting is a permanent action and cannot be undone. Deleting may affect other functionality and information in the application such as data in configured reports, fields in windows, selectable options, etc. Therefore, be sure to understand the potential effects before making a deletion. |
|
1.
|
Click the line that contains the item to delete. |
|
2.
|
From the Select Actions drop-down list, choose Delete. |
|
3.
|
If a confirmation message is displayed, type Delete and click Delete. |