Importing Meraki Record
Use this function to import the required Meraki resources into the Discovery application.
-
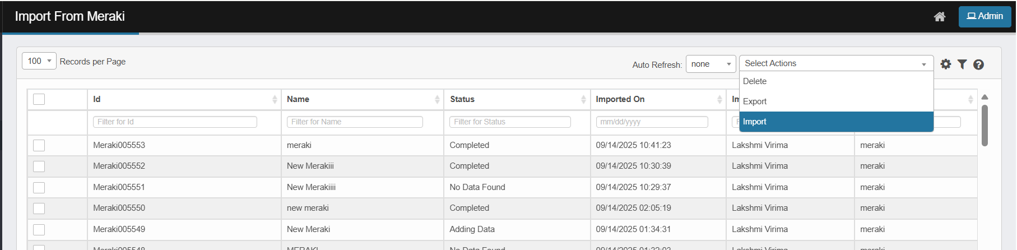
Open the Import From Meraki page, From the Select Actions drop-down list, choose Import.
-
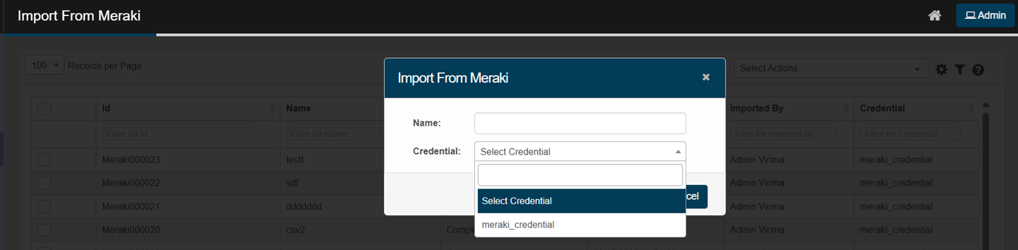
The Import From Meraki dialog box displays.
-
In the Name field, enter a name for the import action.
-
In the Credential field, click the drop-down list and select the appropriate credential to access the Meraki service.
-
If no credentials are listed in the dropdown, add credentials by navigating to Admin > Discovery > Credentials.
-
-
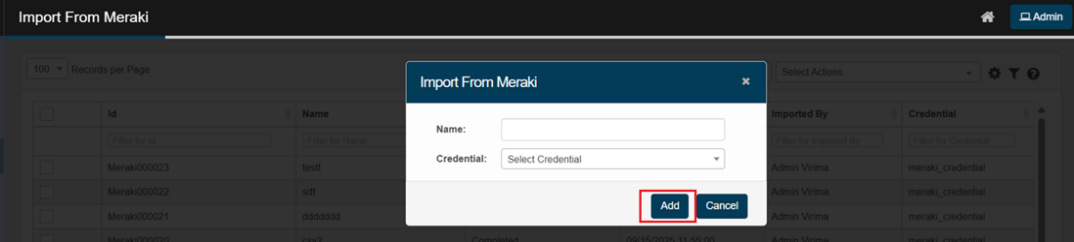
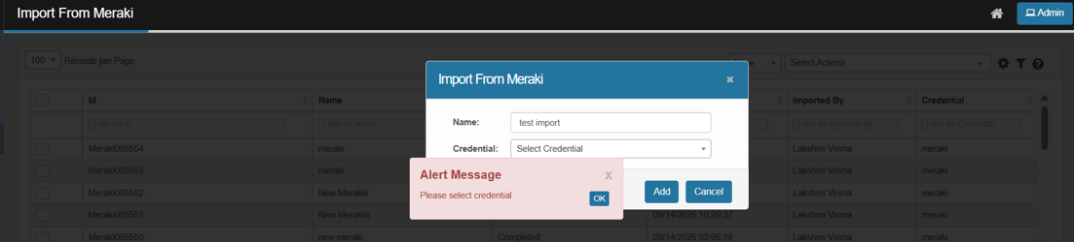
Click Add to import the Meraki services to virima.
The system displays an error if Add is clicked without selecting credentials.
-
User will be redirected to the import From Meraki page,
-
The import record will first appear with the status “Importing” (the process is running and in progress).
-
The status will then change to “Adding Data” (the imported information from Meraki is being processed and added to your system).
-
Once the process is finished, the status will update to “Completed”.
-
After the status is “Completed”, click on the imported record to view the imported Meraki resources.
-
To view the details of a CI, click on the CI. This redirects you to the discovered item page, where you can view the imported CI details.
-
If you do not have the necessary permissions to import—such as lacking access to authenticate with a certificate or Secret Key —the system will display an error message:
"Please check your Meraki credentials."