Accessing the Imported Assets
-
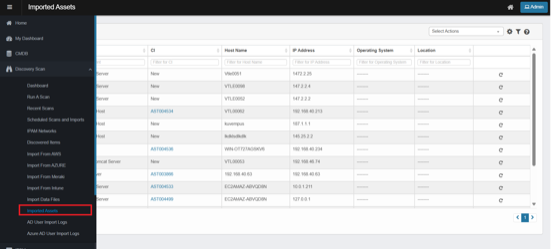
From the left navigation panel, navigate to Discovery Scan. Click Imported Assets.
-
The Imported Assets page opens.
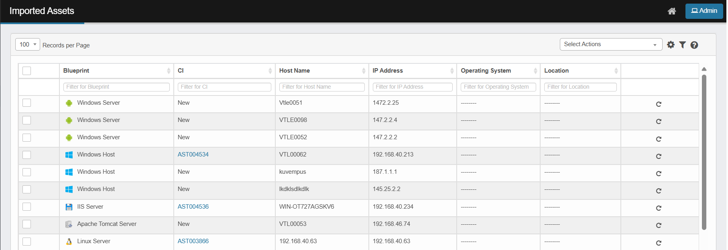
Column Details:
Displays imported asset details in tabular format. Each row represents a imported asset with columns such as:
-
Blueprint: The type of asset (e.g., Windows Server, Linux Server, IIS Server).
-
CI: Status of the configuration item (e.g., New, or linked CI ID such as AST004534).
-
New: Asset imported into the system, not yet linked to a CMDB record.
-
Linked CI: Displays a unique CI ID (e.g., AST004534). The asset is linked to an existing Configuration Item in the CMDB.
-
-
Host Name: The hostname of the device or server.
-
IP Address: The IP address of the asset.
-
Operating System: The Operating System of the asset.
-
Location: The specified location of the asset.
-
Re-scan icon – Opens the rescan dialog box where you can specify IP address, client, and type of scan to revalidate asset information.
-
A new scan run will be listed on the Recent Scans page; refresh the page to view the latest status updates.
-
Scanned results will be displayed in Discovered items. See discovered items PRD for rest of the flow.
-
Record in Imported Assets will not be updated.
-
-
Records per Page Dropdown: Allows users to select how many records are displayed at once (e.g., 10, 25, 100).
Select Actions Dropdown
The Select Actions menu provides administrators with operations they can perform on imported assets:
-
Delete – Removes the selected asset record(s) from the Imported Assets list.
-
Move to CMDB – To move the asset to the Configuration Management Database after confirmation.
-
Re-scan – Opens the rescan dialog box where you can specify IP address, client, and type of scan to revalidate asset information.