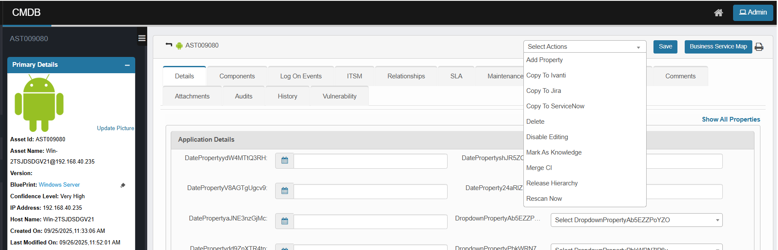
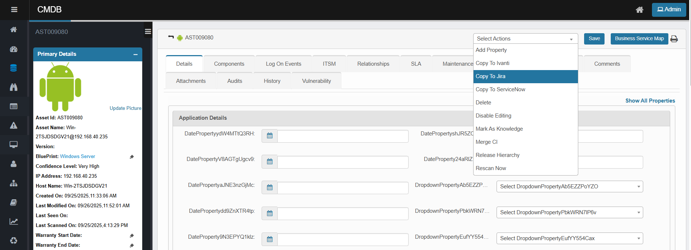
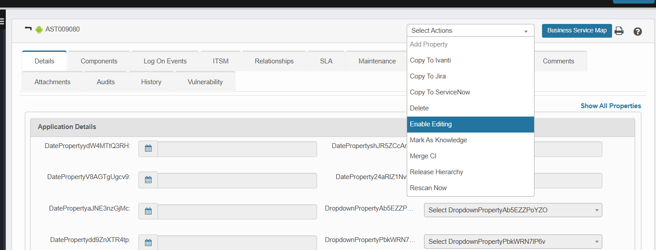
Manage CI (Select Action inside CI)
Within the CI record, the Select Actions menu provides several advanced tools and functions:
|
Action |
Description |
|
Add Property |
Add a new custom property field to the CI |
|
Copy to Ivanti |
Transfer the CI, its components, and relationships to Ivanti for external ITSM management |
|
Copy to Jira |
Send the CI, its components, and relationships to Jira for tracking and integration |
|
Copy to ServiceNow |
Sync the CI, its components, and relationships with ServiceNow ITSM |
|
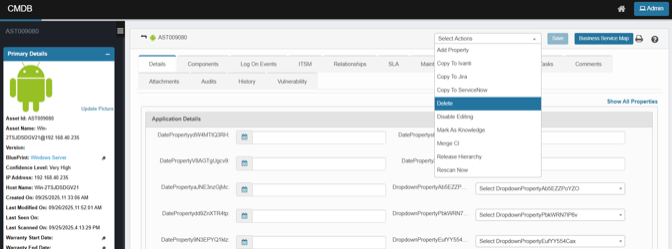
Delete |
Permanently remove the CI from the CMDB |
|
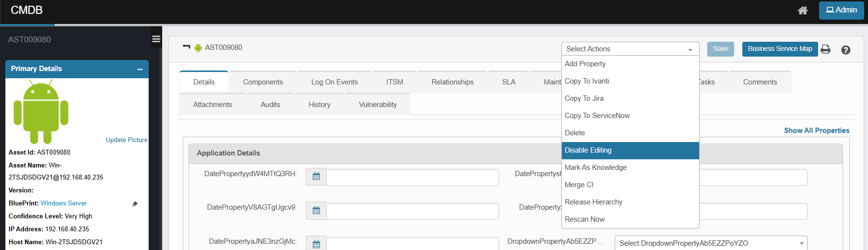
Disable Editing |
Locks the CI from being manually modified (typically used for syncing assets) |
|
Mark As Knowledge |
Convert the CI into a reusable knowledge asset |
|
Merge CI |
Merge duplicate or related CIs into a single record |
|
Release Hierarchy |
View or manage release-related dependencies |
|
Rescan Now |
Trigger an immediate re-scan of the CI via the available probe |
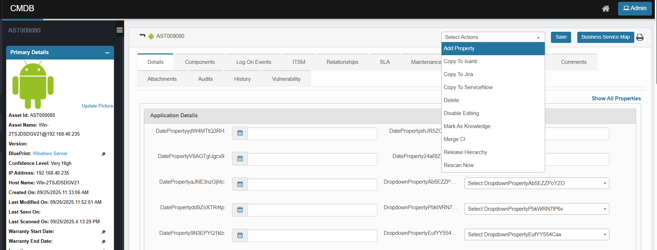
Add Property
Use this to add additional fields to a Configuration Item.
-
In the CI, Click Select Actions, and then select Add Property.
-
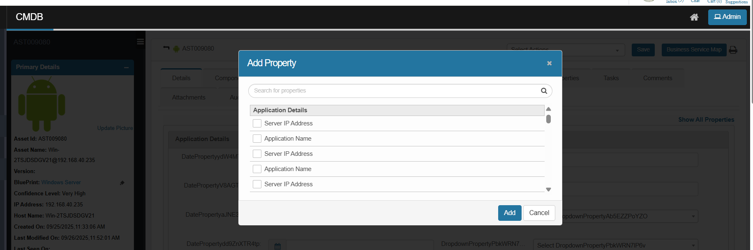
In the Add Property dialog:
-
Use Search for properties to find a field.
-
Expand a group (e.g., Application Details) and check the properties you want.
-
-
Click Add, then Save on the CI.
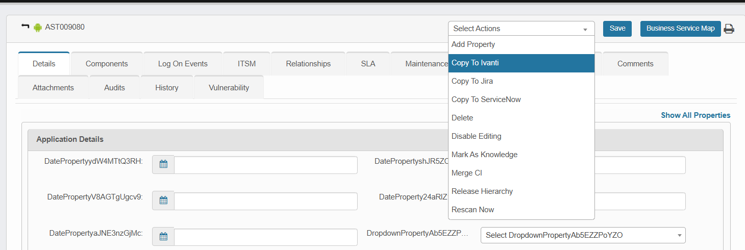
Copy to Ivanti
Copy a CMDB record from Virima to Ivanti Service Manager as an Asset/CI.
If the CI already exists in Ivanti (based on your mapping key), it’s updated; otherwise, a new record is created.
-
Click Select Actions, and then select Copy to Ivanti.
-
In the confirmation dialog, click Yes to proceed.
-
The system displays the Success message: “Records will be moved in the background.”
-
Open Ivanti Service Manager and confirm the Asset/CI was created/updated with mapped fields.
Copy to Jira
Copy a CMDB record from Virima to Jira as a tracked asset/CI.
If the CI already exists in Jira (based on your mapping key), it’s updated; otherwise, a new record is created.
-
Click Select Actions, and then select Copy to Jira.
-
In the confirmation dialog, click Yes to proceed.
-
A "Processing, please wait" indicator appears; the job runs in the background.
-
-
The system displays the Success message: "Records will be moved in the background."
-
Open Jira and confirm the Asset/CI was created/updated with mapped fields.
Copy to Service Now
Copy a CMDB record from Virima to Service Now as a tracked asset/CI.
If the CI already exists in Jira (based on your mapping key), it's updated; otherwise, a new record is created.
- Click Select Actions, and then select Copy to ServiceNow.
-
In the confirmation dialog, click Yes to proceed.
-
The system displays the Success message: "Records will be moved in the background."
-
Open ServiceNow and confirm the Asset/CI was created/updated with mapped fields.
Delete
Permanently remove a Configuration Item (CI) from the CMDB
-
Click Select Actions, and then select Delete.
-
In the confirmation dialog, review the warning and click Delete to proceed.
-
A success message confirms the request. The CI and all its CMDB relationships are removed from the active CMDB view and cannot be used in further operations.
Disable Editing
Lock a CI so its fields can’t be modified (read-only). Use this to preserve a validated record or prevent unauthorized changes.
-
Click Select Actions, and then select Disable Editing.
-
In the confirmation dialog, review the message and click Yes to confirm.
-
The CI switches to read-only: form fields, attachments, and properties cannot be edited or saved.
-
The record remains visible in searches, reports, BSM, and relationships (nothing is deleted).
-
To make changes later, use Select Actions ▸ Enable Editing.
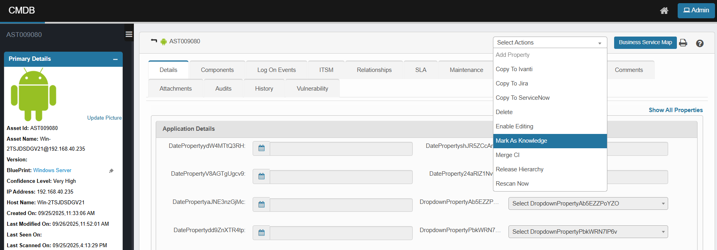
Mark as Knowledge
Publish the current CI as a knowledge entry so it can be referenced in Knowledge Management. The CI stays in CMDB; this action creates/updates a linked knowledge record.
-
Click Select Actions, and then select Mark As Knowledge.
-
In the confirmation dialog (or metadata form, if prompted), review and click Yes to confirm.
-
A knowledge article is created or updated and linked to the CI.
Merge CI
Combine duplicate CIs into a single “master” record so relationships, history, and other references are consolidated, and you don’t manage the same asset twice.
-
Open the CI you want to keep (the master) in CMDB.
-
Click Select Actions, and then select Merge CI.
The Merge CI dialog opens. -
Choose how to merge:
-
Merge Into (recommended) – Merge another CI into the currently open CI (this record stays as master).
-
Merge From – Merge the current CI into another CI (the other record becomes master).
-
-
In the Search box (or Advanced Search), find and select the counterpart CI to merge.
-
Click Add, then confirm when prompted.
-
The system displays a success message.
-
The master CI is retained; its Asset ID and primary identity remain unchanged.
-
Where supported, relationships, references, and other mergeable data from the secondary CI are consolidated into the master.
-
The secondary (merged-from) CI is removed from active CMDB views and can no longer be used in operations.
-
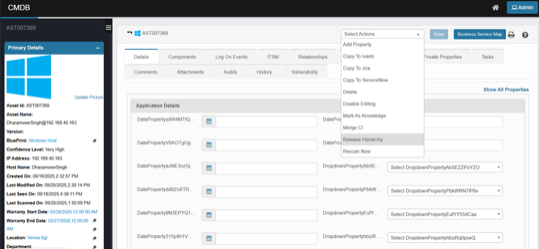
Release Hierarchy
Visualize how the current CI participates in a Release. The view lays out the end-to-end chain (CI → Release → Phase → Activity → Task). You can confirm scope, ownership, and impact without drilling through multiple records.
-
Click Select Actions and then Choose Release Hierarchy.
-
If your browser blocks pop-ups, allow the new tab/window.
The hierarchy opens in a separate tab.
-
A read-only diagram showing nodes such as:
-
CI (the record you started from)
-
Release (RLSxxxxx)
-
Phase (RPHxxxxx)
-
Activity (RL Axxxxx)
-
Task (RLTxxxxx)
-
Lines represent the relationships between those records.
Creating and Associating a Release Record with a Configuration Item (CI) in Virima ITSM
To manage releases and track their impact on specific assets within Virima, follow this workflow:
-
Navigate to the Release Section in the ITSM Module
Begin by accessing the Release under the ITSM module. Here, you can initiate a new release record to plan and manage changes or deployments. -
Create a Release Record
Fill in the required details to create a new release. This record serves as the central entity for tracking all phases, activities, and tasks related to the release process. -
Associate Phases, Activities, and Tasks
Within the release record, define and link the necessary phases (major stages of the release), activities (specific actions within each phase), and tasks (granular work items under each activity). This hierarchical structure ensures that every step of the release is documented and traceable. -
Associate the Release with a Configuration Item (CI)
Link the release to the relevant Configuration Item (e.g. AST0004) by assigning it as an associated CI. This establishes a direct relationship between the release and the asset it impacts, enabling end-to-end traceability. -
View Release Hierarchy from the CI Record
After association, navigate to the CI record for AST0004 in the CMDB.-
In the CI’s Related Records or ITSM tab, you will see the linked release(s).
-
Use the Release Hierarchy view (accessible via the “Select Actions” menu inside the CI) to visualize the full structure:
CI → Release → Phase → Activity → Task
This read-only diagram provides a clear, end-to-end view of how the CI is involved in the release process, including all related phases, activities, and tasks.
-
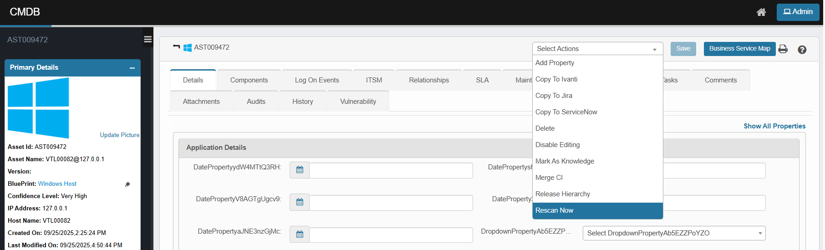
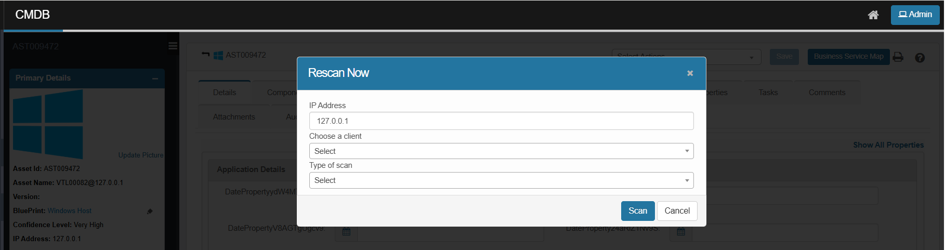
Rescan Now
Run an on-demand discovery against the currently open CI to refresh its attributes and components (useful after a config change or when the last scan is stale). The action triggers a single scan; it doesn’t edit data directly—updates are applied when the scan completes.
-
Open the CI in CMDB.
-
Click Select Actions, and then select Rescan Now.
-
A Rescan Now dialog opens.
-
Review IP Address (pre-filled from the CI). Adjust only if needed.
-
Choose a Client from the drop down.
-
Select the Type of scan (e.g., Certificate scan, Host Ping Scan), as supported in your environment.
-
Click Scan.
-
The system automatically redirects you to the recent scan page, where you can monitor the progress and results of the scan.