Audits
The Audit feature in CMDB allows you to verify the configuration and presence of Configuration Items (CIs).
-
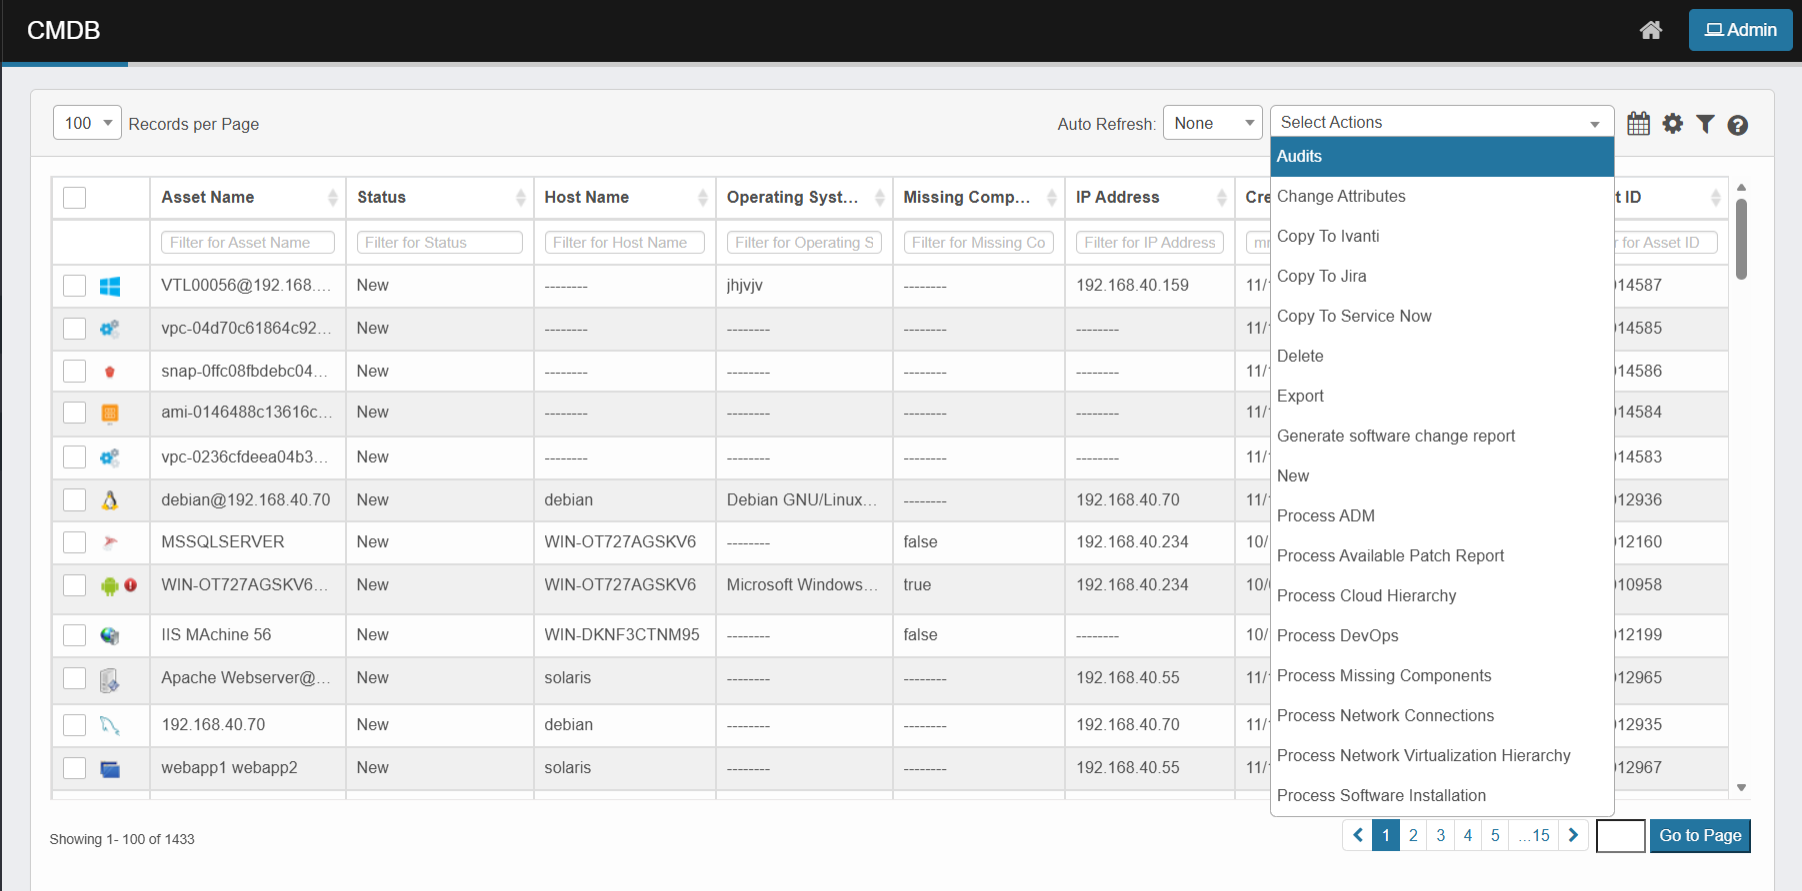
Click the Select Actions dropdown at the top-right of the CMDB list.
-
Choose Audits from the dropdown.
You can perform audits by either creating a new audit process or adding CIs to an existing audit.
Adding to an existing audit
To attach CIs to an existing audit:
-
Select the CI(s) from the CMDB.
-
Choose Audit from the Select Actions dropdown.
-
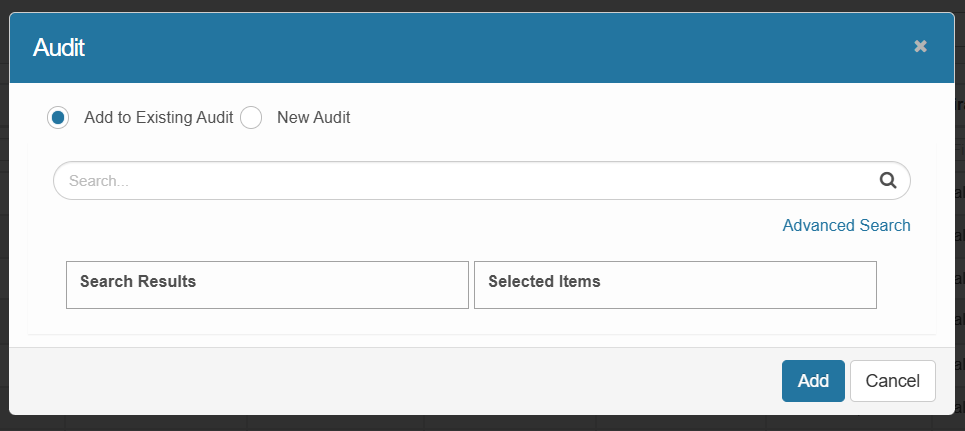
Select the Add to Existing Audit option.
-
Use the search bar to locate the audit.
-
Select it from the list and click Add.
Creating a new audit
To initiate a new audit:
-
Select one or more CI records from the CMDB.
-
From the Select Actions dropdown, choose Audit.
-
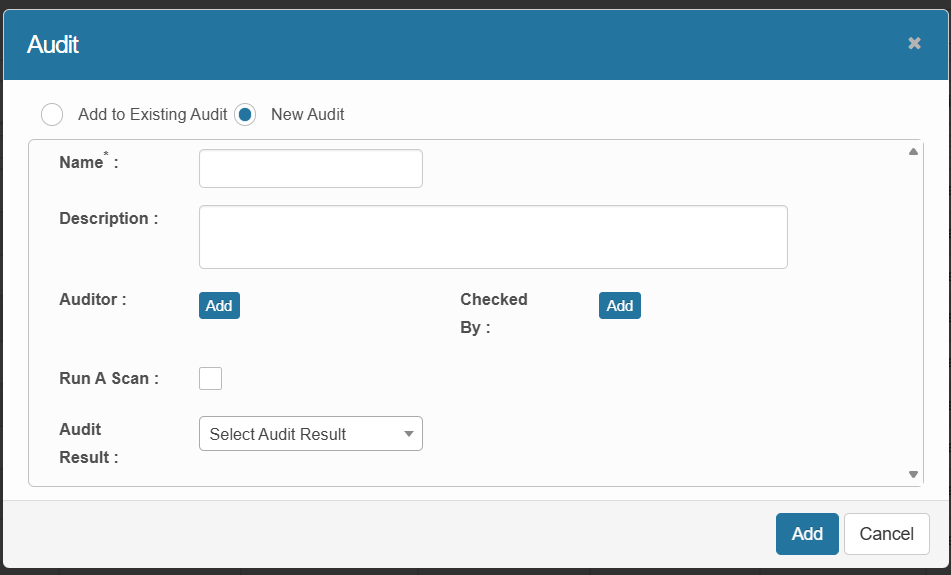
In the pop-up window, select New Audit.
-
Fill in the following fields:
-
Name: Enter a unique name for the audit (e.g., “Java Audit”).
-
Description: Add a brief explanation of the audit purpose.
-
Auditor: Assign the user(s) responsible for conducting the audit.
-
Checked By: Assign the user(s) responsible for reviewing the audit results.
-
Run A Scan: Enable this option to trigger a probe scan on the target CI(s).
-
Select Probe: Choose a specific probe to define what the scan checks.
-
Scan Frequency: Set how often the scan should repeat, if needed.
-
Audit Result: Select the outcome (e.g., Pass, Fail, In Progress).
-
-
Click Add to start the audit process.
Example: Java Audit Scan
When you assign a Java audit scan to a CI, the selected probe checks whether Java is installed on the system.
-
If Java is present, the audit result will reflect a Pass (or custom result).
-
If Java is missing, it may show Fail or In Progress, depending on the probe response.
-
The Checked By field allows designated users to review and verify the automated results.