New Users
ADD INFO FOR V5.
Use this function to add new users to the application.
|
Through this function Multi-factor Authentication (MFA) can be enabled/disabled. |
| 1. | In the main window, click the gear icon and select Users > Users. |
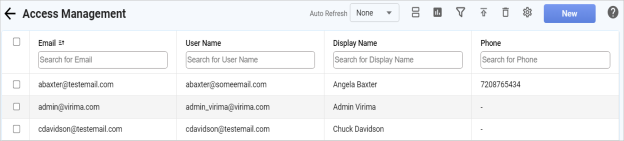
| 2. | Click New User. |
| 3. | To complete the fields, refer to the information shown in the table below. |
| 4. | When all selections/entries are made, click Add. |
New User Details Fields
| Field | Description | ||
|---|---|---|---|
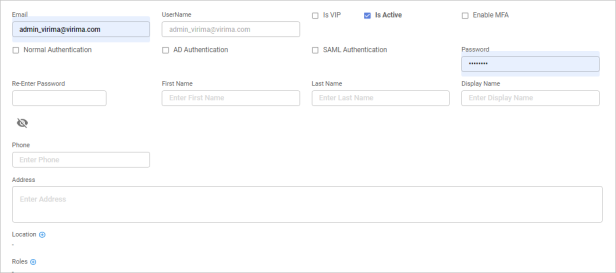
| User's email address. | |||
| Username | Username for logging into the system. | ||
|
Is VIP |
Identifies a user for whom their tickets are given a 1-Priority, by default.
|
||
|
Is Active |
When selected, the user is active in the application and can perform the assigned activities.
|
||
|
Enable MFA |
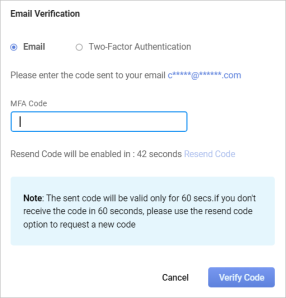
When enabled, upon trying to log in, the user receives an email verification screen and can select to use either Email or Two-Factor Authentication.
If Email is selected, an MFA code is sent and that code must be entered. If the code is not received, click Resend Code.
Two-Factor Authentication If Two-Factor Authentication is selected, follow the instructions in this dialog box and do one of the following: If the QR code is scanned, click Continue, check the Google Authenticator app, enter the token, and click Verify Token.
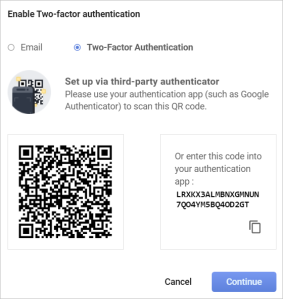

Enter the code shown into the Google Authenticator app.
To disable the verification process, click Reset MFA. |
||
|
Authentications |
Check based on your organization mode of authentication process. Choices are LDAP, AD, SAML, and Normal. |
||
|
Password |
The password associated with the username. The password must be validated by entering it a second time in the Re-Enter Password field. To display the password, click Show Password checkbox or click the Show icon. |
||
|
User Information Fields |
Specifies the information to display within the application. |
||
| Location |
Specifies the location of the user. Click Add and, in the Location dialog box, search for and select the applicable location. If a location is not shown, it has not been set up in the application. See also Advanced Search. |
||
|
Assigns a role(s) to the user that allows the user to perform assigned responsibilities. |
|||
|
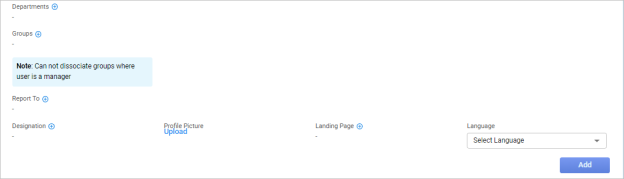
Associates the user with a department. |
|||
|
Associates the user with a group. |
|||
|
Report To |
Specifies to home the user reports. |
||
|
Assigns a designation to the user. |
|||
|
Profile Picture |
Displays a profile picture for the user. Click Upload. In the Attach File dialog box, Browse to the location of the photo, select the photo, then click OK. |
||
|
Landing Page |
Specifies the page that displays to the user on first accessing the application. |
||
|
Language |
Specifies the users language. |