Release Model
Use this function to create a model for the process responsible for planning, scheduling, and controlling the build, in addition to testing and deploying Releases ensuring to deliver new and enhanced services required by the business.
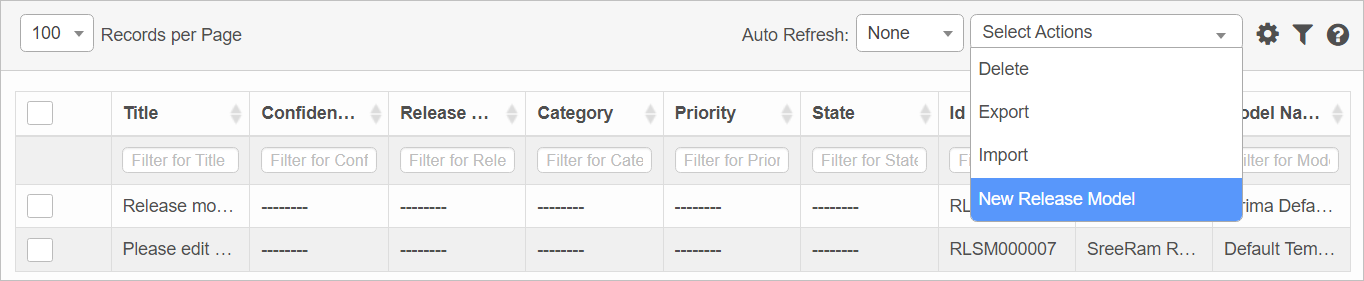
In the main window, click Admin > Release Management > Release Model.
![]()
| 1. | From the Select Actions drop-down list, choose New Release Model. |
| 1. | Click New. |
| 2. | Complete the fields, referring to the table below. |
| 3. | When all selections/entries are made, click Add. |
Release Model Fields
| Section | Field Descriptions |
|---|---|
| Primary Details |
Template Name. A generic name given to a change model. Title. A identifying name for this change model. Private Property Visibility. Fields that are marked as private can be viewed only by these Role(s). Private Property Editable by Role. Properties can only edited by those with a specific role. Workflow. Specifies the workflow which this change must pass through. Confidential. The user(s) designated to see this change. |
| Record Details |
Category. Determines the type of a change: Major, Minor, Standard and Significant. SubCategory. Division of a CI category--for example, Laptop can be a CI Subcategory of Desktop. Impact Level. The measure of the effect of a change on the Business Process. Impact is used to assign the priority: Impact: High, Medium and Low. Urgency. A measure of how long it will be a change and has a significant Impact on the Business: High, Medium and Low. Priority. A Category used to identify the relative importance of a change. Priority is based on Impact and Urgency, each level of priority has a specified SLA within which a change needs to be resolved. Risk. A category that determines the complexity involved in implementing the change: High, Medium and Low. Type. Determines whether the change is a Normal, Emergency or Standard type. State. A category which is a sub set of Stage: Accepted, Rejected, Requested. Assignee/Group Assignee. The role assigned the change. This category is used when it's unknown who can work on the change at the time of creation. Associated CIs. The CI’s associated with this release. Related Changes. The changes to associate with this release. Description. A brief description about the change. Custom Timescale. When selected, enter the relevant times. If applicable, enter the Escalate parameters. If Response and Resolution Times are not specified here, they can be specified when a change request is submitted.
custom Timescale can be defined only during the creation stage and the same can't be defined after a change is created.
If a Custom Timescale is set, then Priority based timescale SLA and escalation hierarchy are not considered.
Planned Start/End. The dates applicable to this release. |
|
Related Records |
Other records related to this one, such as problems, incidents, requests and so forth. Click |
|
Notes |
Any details related to this release. |
|
Resolution Information |
Details on how the release was resolved. |
|
Closure Information |
Details related to the closure of the release. Select a Closure Code and enter any relevant details. |
| 1. | In the Details window, from the Select Actions drop-down list, select Modify Properties. |
| 2. | Next to the section in which a change should be made, click Edit Properties. The Update Properties dialog box displays. |
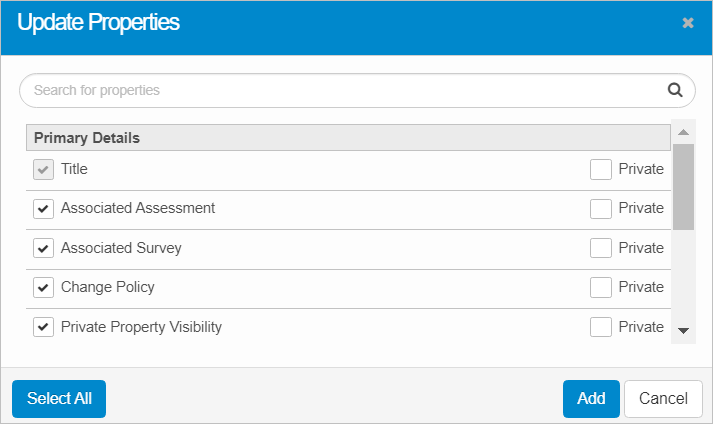
| 3. | When all selections/entries are made, click Add. |
| When you remove a property, a red X displays next to that property when viewing the Details. |
Select Existing Property
To select an existing property, enter the criteria in the Search field. As you enter a character, the corresponding properties that match the criteria display. Click to select the property so a check mark is shown.
To select all properties, click Select All.
Unselect Existing Property
To unselect an existing property, enter the criteria in the Search field. As you enter a character, the corresponding properties that match the criteria display. Click to unselect the property so no check mark is shown.
| The Select All option is not applicable when deselecting properties. |
Add New Property
| 1. | Click Add New Property. |
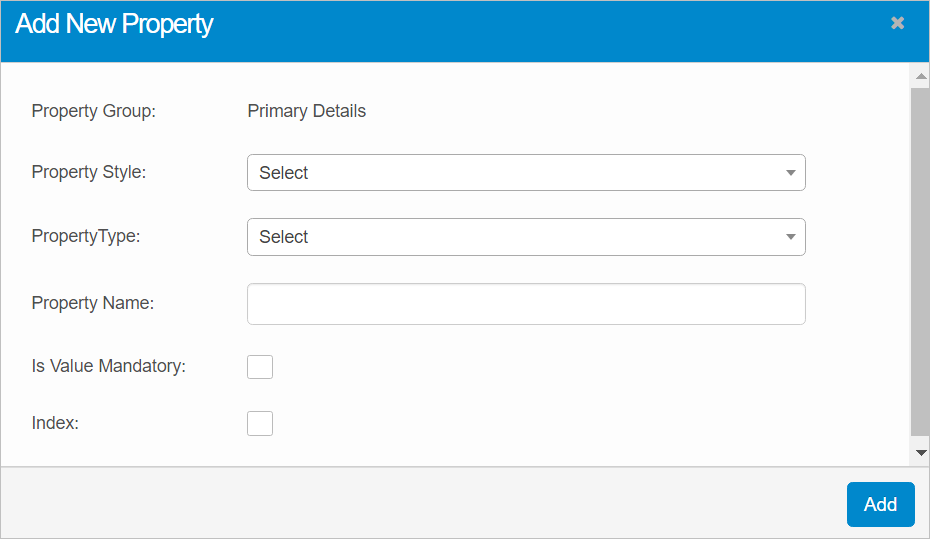
| 2. | Click the drop-down lists and select the Property Style and Property Types. |
| 3. | Enter a Property Name. |
| 4. | If the property is required, select Is Mandatory. |
| 5. | If the property should be indexed, select Index. |
| 6. | When all selections/entries are made, click Add. Upon returning the details, the newly added property is shown with a red X. To remove the property, click the red X. Otherwise, click Save and the X is removed. |

| Not all functions include an option to edit record line items shown in the main window. |
| 1. | Navigate to the window containing the record to edit. |
| 2. | Click the line containing the record. The applicable window or dialog box displays. |
| 3. | Make the necessary modifications. |
| 4. | Click Save or Add, as applicable. |
| Deleting is a permanent action and cannot be undone. Deleting may affect other functionality and information in the application such as data in configured reports, fields in windows, selectable options, etc. Therefore, be sure to understand the potential effects before making a deletion. |
| 1. | Click the line that contains the item to delete. |
| 2. | From the Select Actions drop-down list, choose Delete. If a confirmation message is displayed, type Delete and click Deleteto confirm. |
Other Functions and Page Elements